Filter to view relevant information

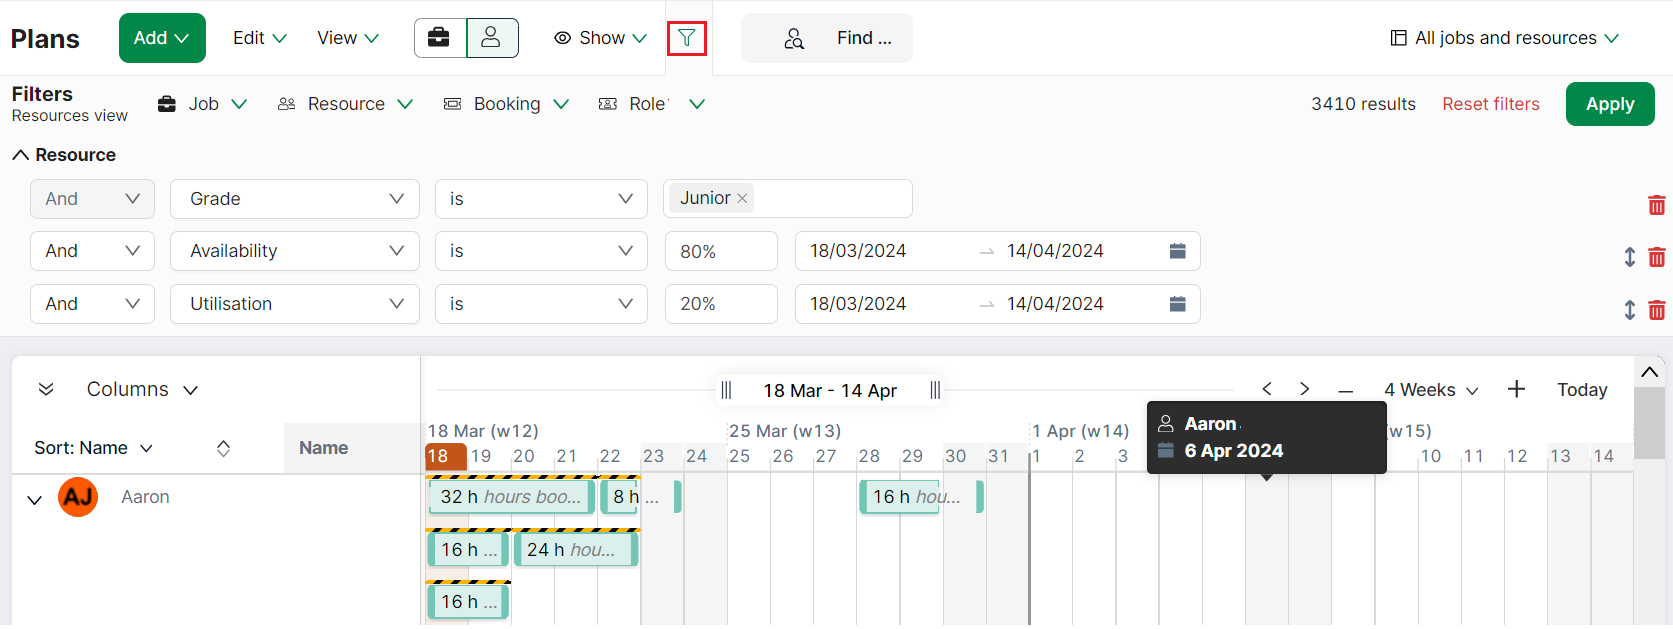
- If the filter pane is not visible, click the filters icon (highlighted) to display the filter pane
- You can filter on Jobs, Resources, Bookings or Roles
- Click the arrow next to Resources, Jobs, Bookings or Roles and select the fields that you want to filter on
- Add 'And' and/or 'Or' criteria if necessary. The same field can be used more than once
- Click Apply
- The results are filtered and displayed. The number of results is displayed on the top right. You can also save your applied filters as a plan on the Plans page
Click Reset filters to discard any changes that were made and to reset filters to the plan's original state (The trash icon can be used to remove individual filters)
The total number of applied filters is displayed next to the filter symbol as shown below:

Note
You can add an unlimited number of filters.
Edit applied filters
Simply edit the filters as and when necessary and click Apply.
Delete filters
Click the trash icon next to a filter to delete.
Rearrange applied filters

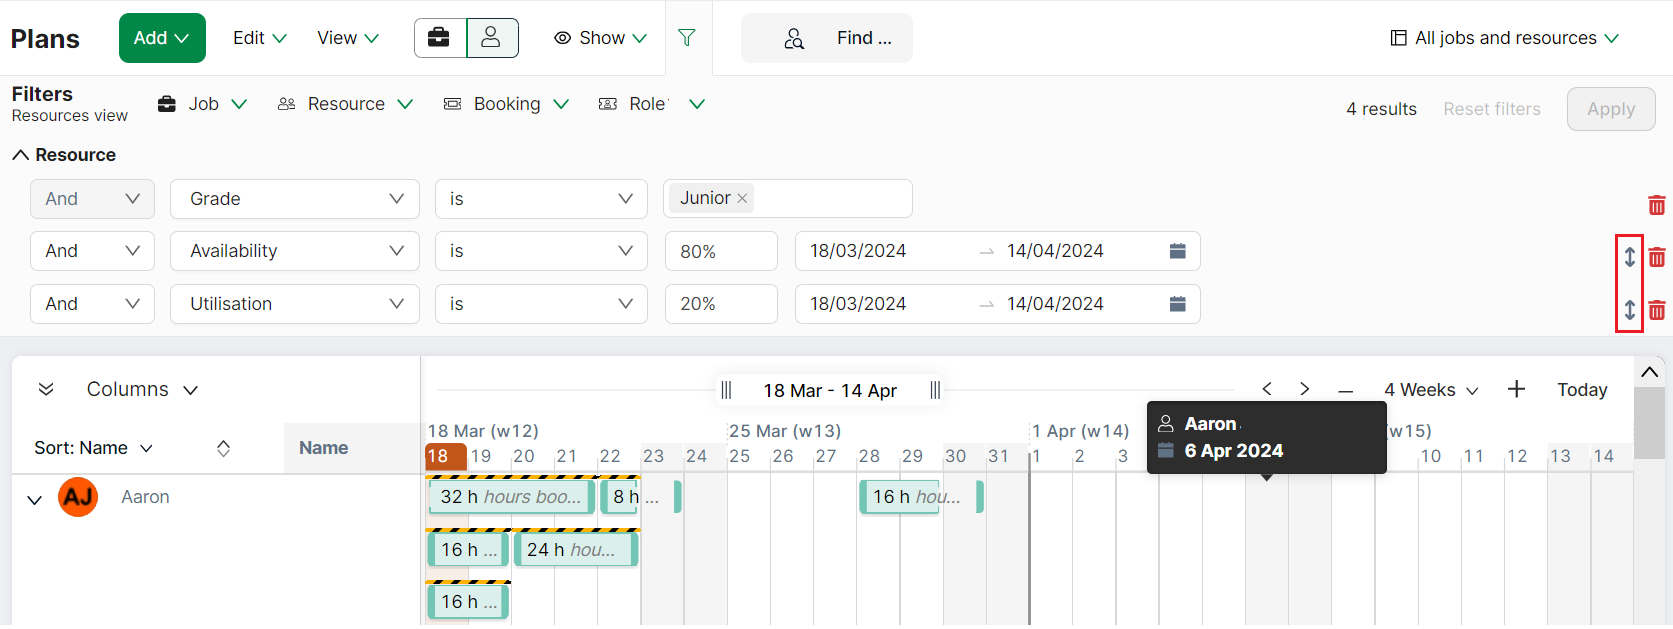
Use the drag icon to drag a filter row and drop it at a new position. Your selected filter values remain unchanged. Only the position (and therefore the ordering) will change (If all the filter lines are AND statements, the ordering will not make a difference).
- Hover over the drag icon next to a filter. The cursor changes to a drag cursor
- Click, hold the left mouse button and drag the filter row
- A green line indicates potential places where the filter row can be dropped
- Drop the filter row
Note
You can only drag a filter row within a section.
Save Filters
To save the applied filters:

- Click on the name of your plan
- Click Save Changes