Skip to content

Work with talent profiles

Understand profiles

Profiles are used to manage and display information about a resource’s professional skills, certifications, experience, work history and more. They serve as tools for those who are trying to find a qualified resource to take on a specific role or responsibility. Having an up-to-date profile enables other users to find you when they are looking for candidates to take on job or a project.

View profiles

View your own profile

profile

Click Talent Profile to view your own profile page.

View the profile of another resource if you have admin permissions

See View profile of a user.

View the profile of another resource if you do not have admin permission

  1. Click view other profile on the upper right corner of your talent profile
  2. Apply filters as necessary to find and view profiles
  3. List of resources satisfying the selected criteria and filters will be displayed
  4. Click the 3-dot menu for a resource
  5. To go directly to their profile, select Go to profile or select copy profile URL to copy the URL link and then paste it in an address bar to view the resource profile
  6. To go back to your own profile, click view my profile on the upper right corner of the selected resource's talent profile

Edit the profile

edit profile

Note

You will see the Edit icon if you have Edit permissions.

  1. Navigate to the profile of a specific resource
  2. Click the Edit icon which can be found against the field that you wish to edit
  3. Make the necessary changes
  4. Click the checkmark to save

Note

When editing the client, if the client you are searching for does not exist, you can create a new client by clicking on + New Client button. For example, you search for a Client called 'ABC' via Client and it does not exist, you can create a new client called 'ABC' by clicking on + New Client.

Share the profile

This option allows you to share the URL link of a profile with other users.

Note

You must have View permissions in order to perform this action.

share profile

  1. Navigate to the profile that you want to share
  2. Click Share icon

Manage the profile picture

profile picture

Note

You can upload (or remove) a profile picture if you have Edit permissions.

To upload a profile picture:

  1. Click the profile picture
  2. Upload a file (.jpg or .png only) or drag files to the specific area
  3. Click Apply to apply changes

To remove a profile picture click Remove Picture.

To reposition, drag the profile picture as necessary within the confines of the box.

The slider can be used to zoom into the profile picture.

Attach documents

See Upload and Attach documents for more detail on uploading and attaching documents.

History Fields

History fields (such as diary and charge rate) store a value + the date from which that value is held.

This allows resources to see which values have been held in the past or will be held in the future e.g. Josephine Bloggs may be on a junior charge rate in 2020 and changes to a senior charge rate on Jan 1 2021.

Note

  • You must have Edit permissions to view the history of a field
  • In read mode, the current value of a history field is displayed with a time icon

To view history field values:

  1. Hover or click on the time icon
  2. A tooltip displays the value of the field at different points of time. Values will be displayed in reverse chronological order

To set history field values:

  1. Click on a history field to edit it
  2. History fields display a value along with its starting date. The starting date will be set to the current date by default
  3. Change the start date to the desired date
  4. Click Save. The field will now be displayed with a time icon

Maintain skills

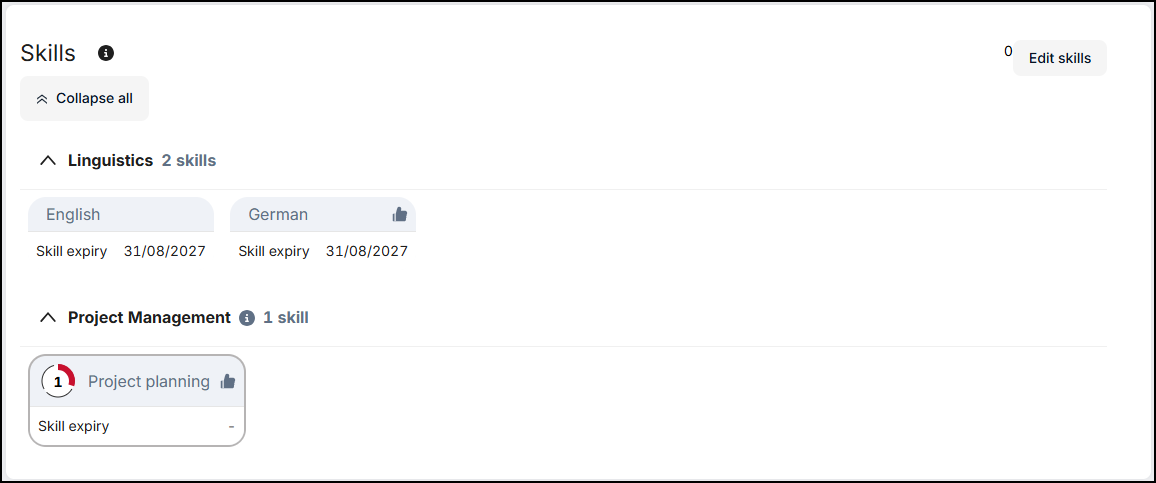
  • The skills on a profile are organised and displayed as skill types
  • Each skill type has a list of associated skills
  • Each skill may further have levels and fields
  • The skill types, the skill levels and the skill fields can be configured in the Admin settings

Each skill type displays:

  • The total number of skills
  • The skills belonging to the skill type
  • Fields (if present) are displayed below the skill
  • Levels (if present) are displayed visually as sections within a circle. For example, if a skill has 3 levels, then it will be displayed with 3 sections. If a skill has 9 levels then it will be displayed with 9 sections. The colours indicate the completeness of the skill levels - with red as incomplete, green as complete and orange for somewhere in between, according to the following scale:

skill level colours

For example, if a skill has 9 levels out of which only 1 level has been added, then it will be displayed in red. If 5 levels have been added, then it will be displayed in orange, and if all 9 levels have been added, then it will be displayed in green:

skill levels

Add skills

Note

When there are no skills associated with a profile, the Add Skills button is displayed. An Edit Skills button is displayed when there are one or more skills on the profile.

profile skills

To add skills:

  1. Click Add Skills or Edit Skills (the label on the button varies according to the number of skills present. See Note above)
  2. Select a skill type from the drop down to display skills belonging to the skill type, or you may select All skill type. A list of skills are displayed in alphabetical order
  3. If the list is too long, you may search for the skill by typing into the Search for a skill box. Skills that match the search will be displayed
  4. Select the skills that you wish to add. The selected skills are displayed into the Skills to add section. Existing skills, if any, are displayed under their skill type
  5. Enter the Levels and Fields (if any) for the skill
  6. Click the Save button. The selected skills will be added to the profile under their skill type

Delete skills

To delete a skill:

  1. If the skill has no levels or fields, hover over the skill. If the skill has levels, hover over the skills with the level(s). An edit icon will be displayed
  2. Click the edit icon. A popup will be displayed
  3. Click the delete icon. The skill is marked for deletion
  4. Click Save. Skill will be deleted from the profile

To delete skills by clicking the Edit Skills button:

  1. Click the Edit Skills button
  2. Skills with their levels and fields will be displayed with an associated delete icon
  3. Click the delete icon for the skills that you wish to delete
  4. Click Save. Skills (along with their levels and fields) will be deleted from the profile

View the history of skill updates

Hover over the 'i' icon provided on the skill header section to view a history of who updated the skills and when.

Note

The 'i' icon will not appear if no skills, experience or education have ever been added. However, if all skills, experience or education are deleted, the icon will be displayed.

Education and experience

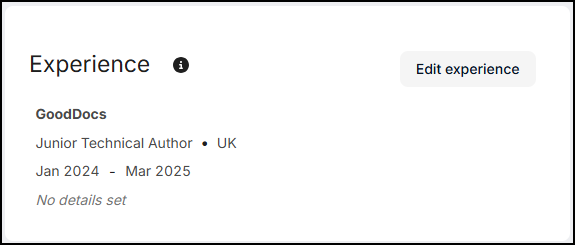
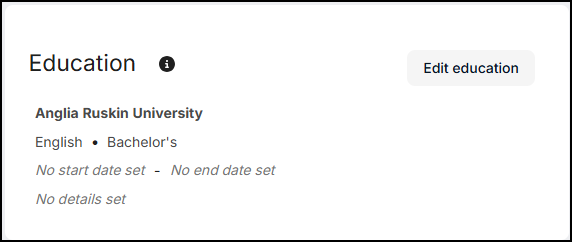
Click Add education to add your education details. Click Add experience to add your experience details. You can edit your education and experience by clicking the Edit education or Edit experience button respectively.

Note

You can only edit your own education and experience details.

A new value list for Degree fields has been created in the Values page.

Recent work

Recent work displays the resource's most recent jobs. Up to 5 pages of the most recent jobs are displayed. You can use the pagination controls to move through the pages.

Note

  • Jobs which have not reached their end date will not be displayed
  • Only Jobs with both start and end dates are displayed
  • If the booked hours for Bookings within the Job date range is 0, the job will not be displayed
  • Default sort order is by Job end date (If two or more Jobs have the same Job end date, then the secondary sort order will be alphabetical)
  • If any bookings extend the Job's start or end date, then those bookings will be partially calculated i.e. only the hours worked between the Job's date range will be calculated
  • If the total hours worked is equal to 0, the Job will not appear on the Recent work table, even if it has both Job start and end dates
  • If the Job end date is hidden for a security profile then the entire Recent work section and table will be hidden for that security profile

Configure fields

Click the settings icon to select and display different columns (limited to four columns. Job name is always displayed). Use the drag icon to rearrange the order.